Fold a Gift Box

 Nearly 4,000
years ago, Egyptians living along the Nile River used a water plant called
papyrus to make sheets of a material they could use for writing. However, it
wasn't until 100 B.C. that the Chinese invented something similar to the paper
we know today.
Paper is made of
cellulose, a material that's found in all plant cell walls, but most paper
fibers in North America come from wood. Making nearly a third of all paper
manufactured, the United States is the world's leading producer of paper.
Americans also throw away a lot of paper. In fact, 40% of the space in our
municipal landfills is taken up by paper and cardboard.
Fortunately, paper is easily recycled, but a better way to manage
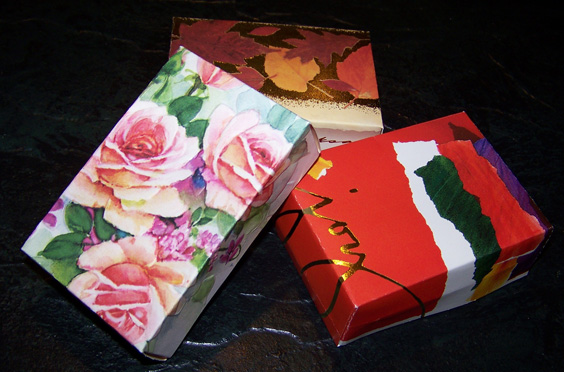
solid waste is to reuse materials. We'll learn how to use an old greeting card
to make a small, gift box. Reusing cards is a great way to save money, energy,
and landfill space. Also, since reuse helps save trees, the amount of carbon
dioxide in the atmosphere is decreased.
You Will Need:
- Greeting cards
- Ruler
- Pencil
- Scissors
- Glue stick
- Paper cutter (optional)
How to:
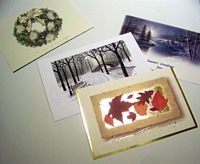 |
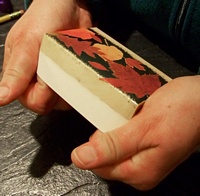
Greeting cards are wonderful materials to use in
making boxes. Made of cardstock, a heavy paper that's composed of many plies or
layers, the cards are sturdy, and they often have beautiful designs on their
covers. With a few simple folds, and a cut here and there, you can make just
the right container for small gifts or treasures. |
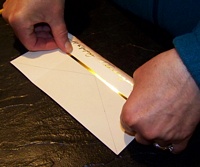
| To begin, cut on the fold to separate
the front of the card from the back. The front will become the box's cover or
top. In order for the bottom (back of the card) to fit properly, the cardstock
will need to be slightly smaller, so cut 1/8" from one end and 1/8" from one
side of the card's back. If you use a paper cutter, have an adult do the
cutting for you. |

 |
 |
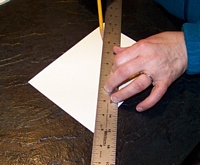
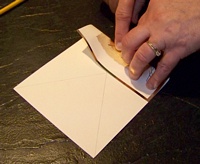
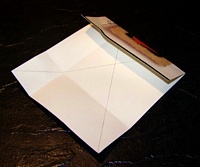
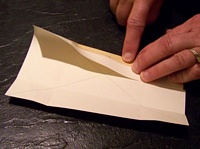
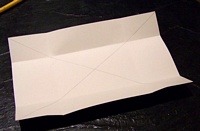
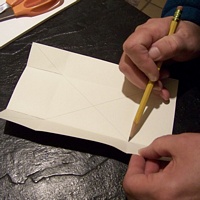
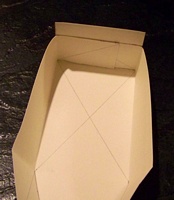
To make the lid, turn the front of the card face
down. Place the ruler diagonally on opposite corners, and lightly draw a pencil
line between them. Repeat for the other two corners, making an X figure. Fold
one side up to the center of the X, crease, and unfold, as shown. Repeat this
step for the other three sides. |
  |
 |
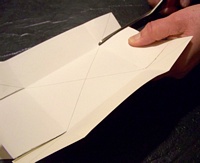 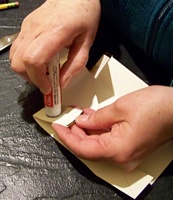 |
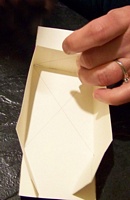
On the short ends, mark the creases and cut as
shown. Stand up the short side, and slide the tab behind the end of the box,
and glue in place. Repeat for the other end. Fold the remaining part of the
card down over the end, and glue. If necessary, use paper clips to hold the
cardstock in place while the glue dries. |
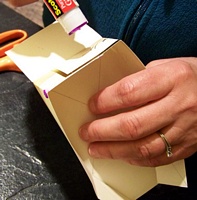
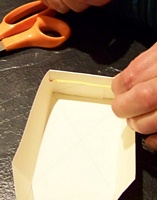
| To make the bottom of the box, repeat
these steps using the back of the card. Draw the guidelines on the inside of
the card or the side with the greeting printed on it. Fold the box bottom as
before, and cut in the same way. To assemble the bottom, fold and glue as you
did for the box top. To make the inside of the box neater, glue small
rectangles of paper or felt over the inside of the box's top and
bottom. |
    |
 |
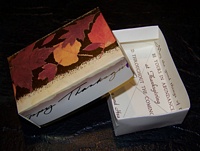 |
Tips and Tricks:
A good source of free cards is a printing
company. When greeting card sample books become outdated, they're thrown away,
but people who work at printing companies or quick print shops usually are
happy to give them to you. Also, ask friends and relatives to save their old
greeting cards.
Visit http://www.paperrecycles.org/about/about-af-pa to learn more about the American Forest and Paper Association site to learn more about paper, its history, and recycling. You can play games, make art, do science activities with
paper, and learn some interesting facts about this valuable
product.
© 2008 Marilyn J. Brackney (updated 2018)
Volume 21 No. 2
Return to Main Web Page
Return to the main holidays Page
Select this to
choose other holiday activities..

![]() Nearly 4,000
years ago, Egyptians living along the Nile River used a water plant called
papyrus to make sheets of a material they could use for writing. However, it
wasn't until 100 B.C. that the Chinese invented something similar to the paper
we know today.
Nearly 4,000
years ago, Egyptians living along the Nile River used a water plant called
papyrus to make sheets of a material they could use for writing. However, it
wasn't until 100 B.C. that the Chinese invented something similar to the paper
we know today.